Sunday, December 16, 2012

Kitchen Update - Week 5

Week five was not a fun week - we tore up the old floor.  It was really frustrating because it was hard, physical work, but the room actually looked worse when were finished.  Plus it was really dirty and dusty and sticky and unpleasant.

We used spackle knives to scrape up as much floor as we could.
It was a huge mess.
We found a tin can lid used to patch a hole - now that's recycling!
Mum pulled a whole lot of dirt out of our duct work...
...as well as this air freshener!

Wednesday, October 17, 2012

Kitchen Update - Week 4

Week four was mostly about finishing up the last of the painting.

Mum paints the windows.
I paint over the very last of the terrible pink paint!
Originally I had planned to paint the cabinets, but I was concerned it would be too much beige.  So we decided to leave them unpainted and tried to shine them up a bit.  Aunt Candy brought over some stuff called Liquid Gold that worked wonders.


I also started tearing up the floor.  Unfortunately, it doesn't look like it would be very easy to save this floor.  And I've got other plans for when we do the Big Kitchen Redo, so we've decided it would be easier to just put down linoleum tiles for now.  This awful stuff has to come up first, though.


So that's all I've got for now.  These first four weeks all took place in September.  We haven't been able to do anything yet in October due to very busy schedules, but hopefully we'll be able to get back to work this weekend.  From here on out, it's all pretty complicated stuff (at least in my book).  Here are the things we still need to do:

  • paint basement door with chalkboard paint
  • put down linoleum tiles
  • build custom cabinet/table out of reclaimed parts from the Centre Park Artifacts Bank
  • replace the countertop
  • put up baseboards, chair rail, and crown moulding
  • make curtains
  • turn weird closet alcove into a pantry
My goal is to have all this finished by November 18th - think we can make it?

Tuesday, October 16, 2012

Kitchen Update - Week 3

Week three started with more patching.  Do not underestimate the number of gaping holes we had in our walls.

Mum knocks out the crumbling bits of wall so she can patch it with some drywall.
I don't know if you can tell or not, but the walls in the kitchen are heavily textured.  Since many of the holes had to be completely replaced with drywall, we bought some spray-on texture stuff to try and make everything look at least somewhat uniform.  The one we used was called Homax Wall Texture Spray and it was pretty amazing.  It looks a little weird going on, but when it is painted you can hardly tell the difference between the original wall and the replacement drywall.  I'd definitely recommend it.

Kylie helps to make the drywall match the plaster walls.

Except for new countertop, the back part of the kitchen is finished.


We're going to paint the basement door with chalkboard paint so we have a handy place to jot down notes.


Kylie accidentally discovered that there was door moulding behind that weird makeshift closet, so we tore the whole thing down.  I wish all of the trim had remained unpainted - it's so beautiful!


That's all for week three - check back tomorrow for week four.

Monday, October 15, 2012

Kitchen Update - Week 2

When we 
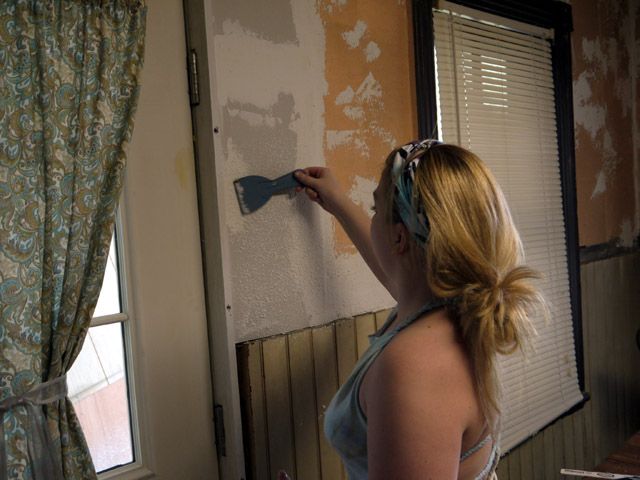
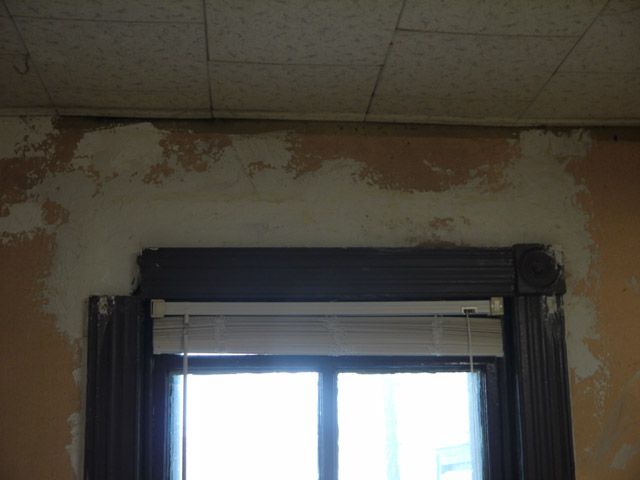
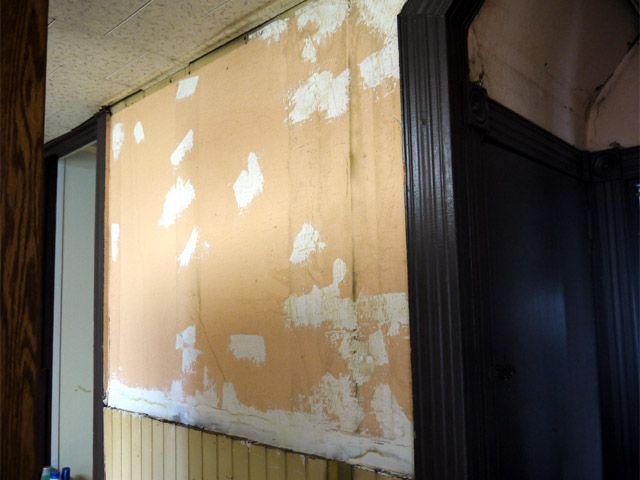
left off last time, we had taken down the cabinets, paneling, and miscellaneous wood pieces and were ready to start getting serious!  We started by patching the holes in the main part of the kitchen so that the spackling paste would have plenty of time to dry.  


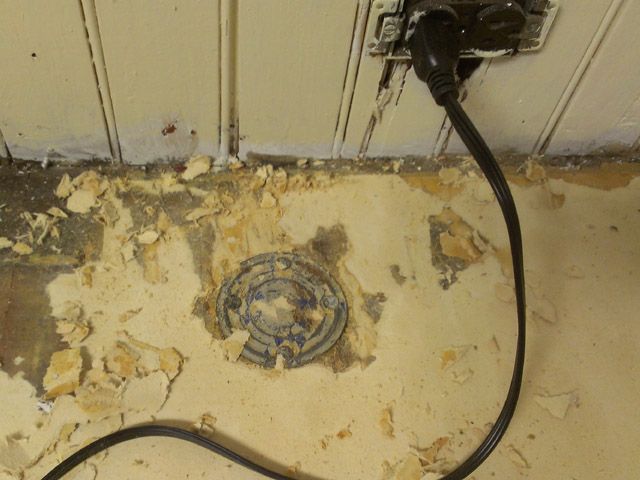
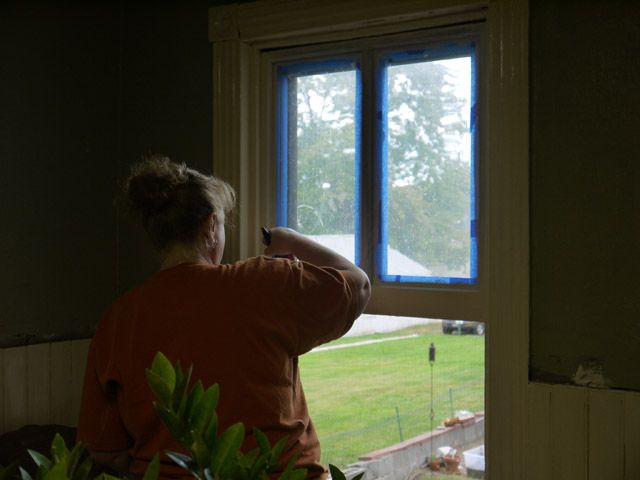
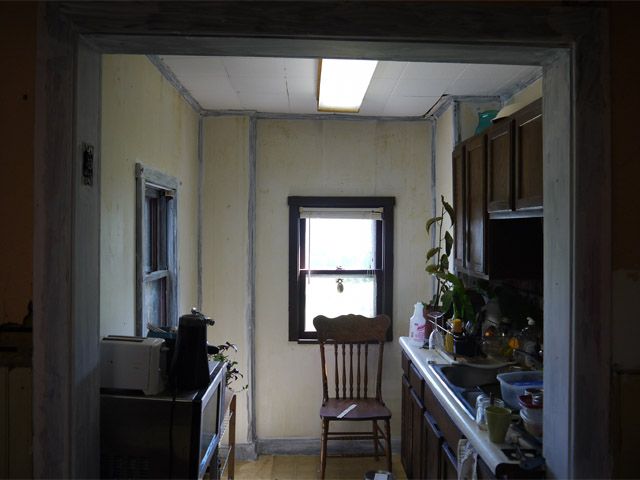
Meanwhile, I finished tearing down the wallpaper in the back area and primed the dark brown trim.


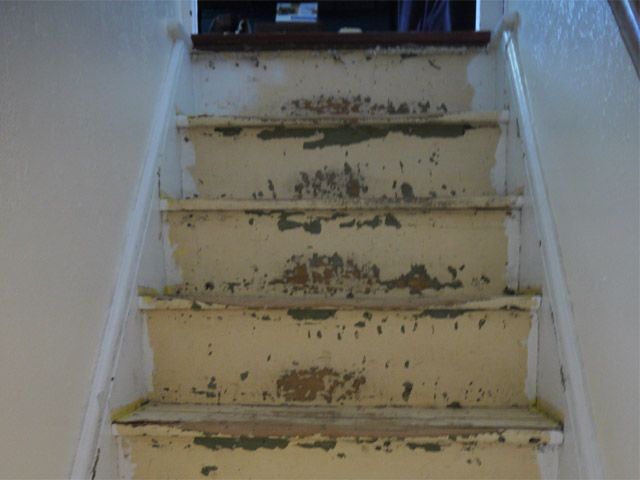
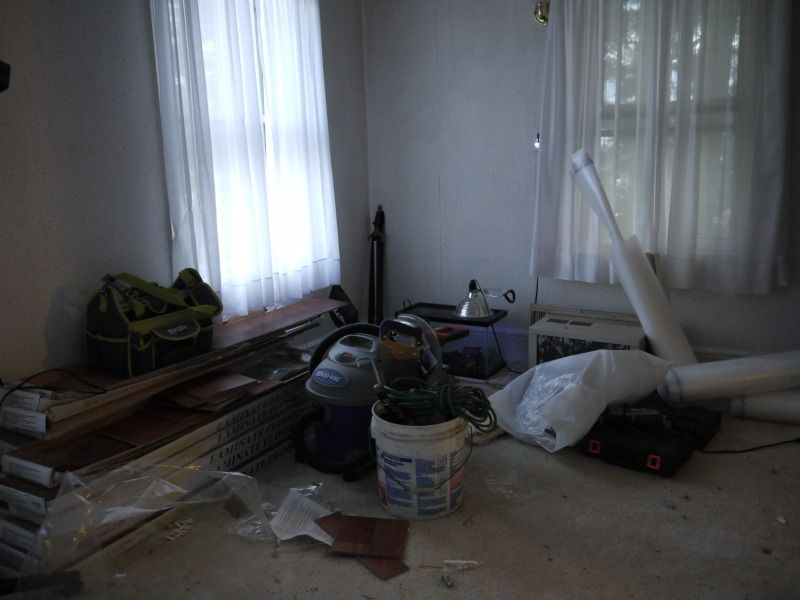
Kylie got bored, so she and Uncle Don tore up the carpet on the stairs.  Unfortunately, the stairs are not in such great shape and are going to have to be pretty heavily repaired.


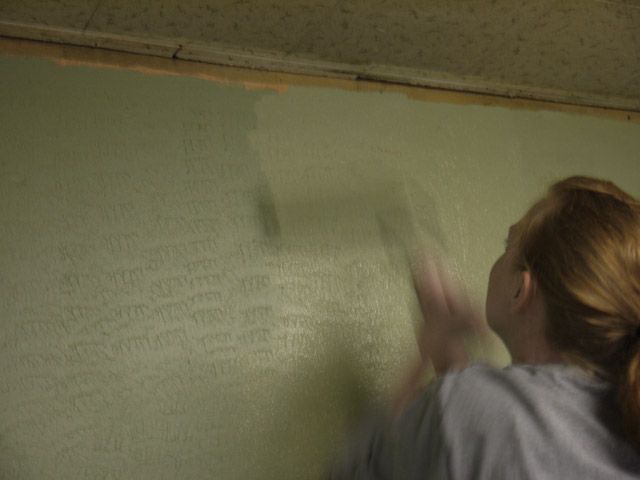
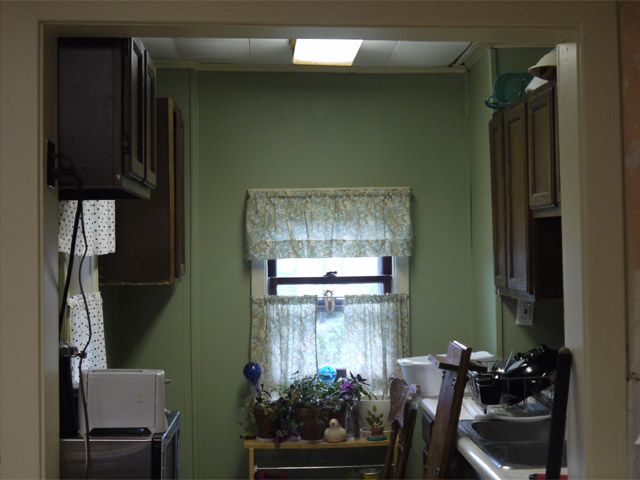
Then we gave the back area its first coat of paint.  It looks better already!
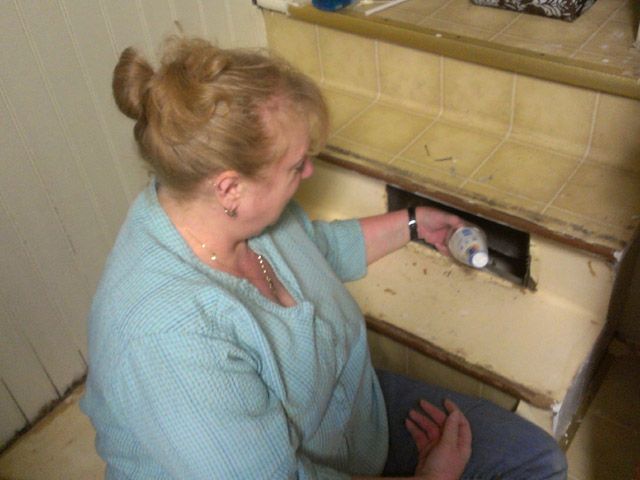
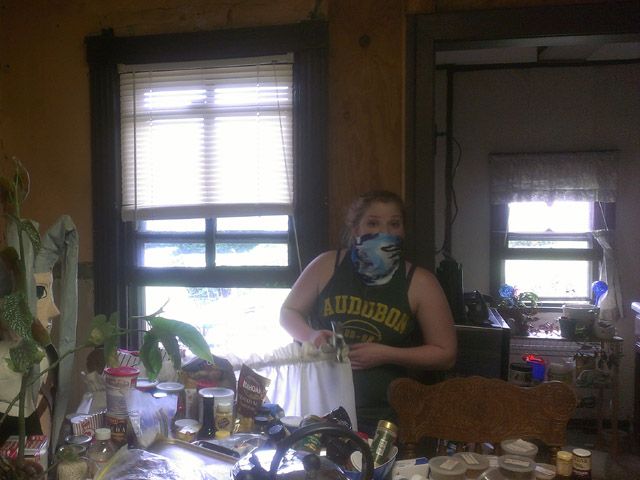

Mum is camouflaged!
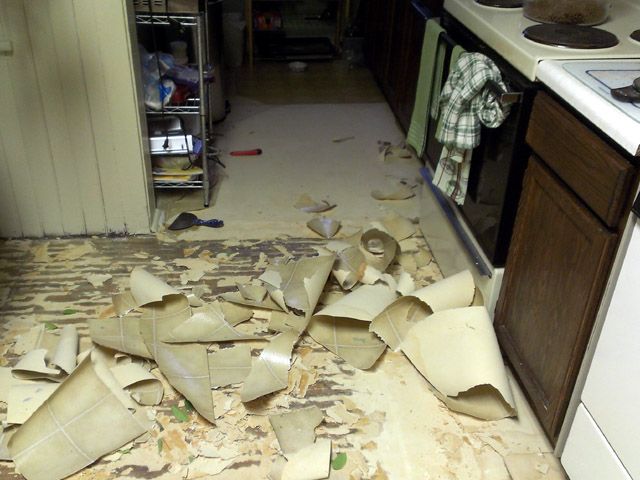
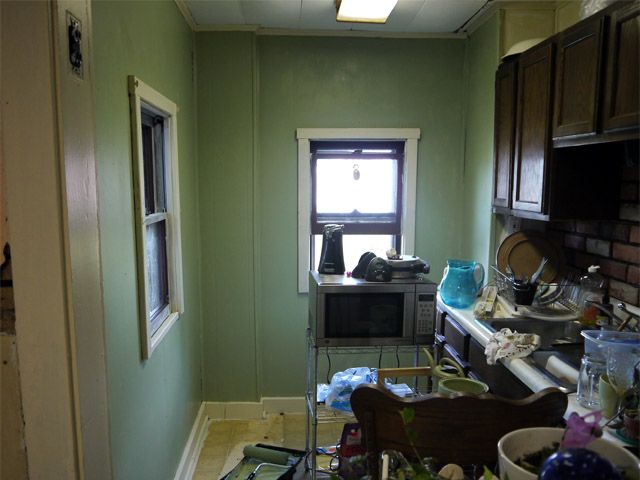
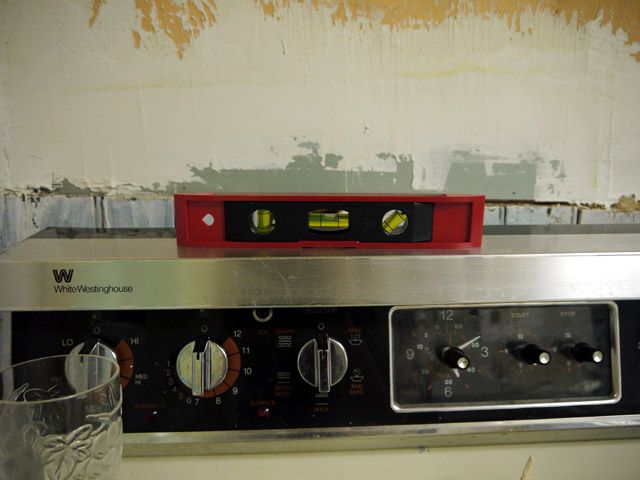
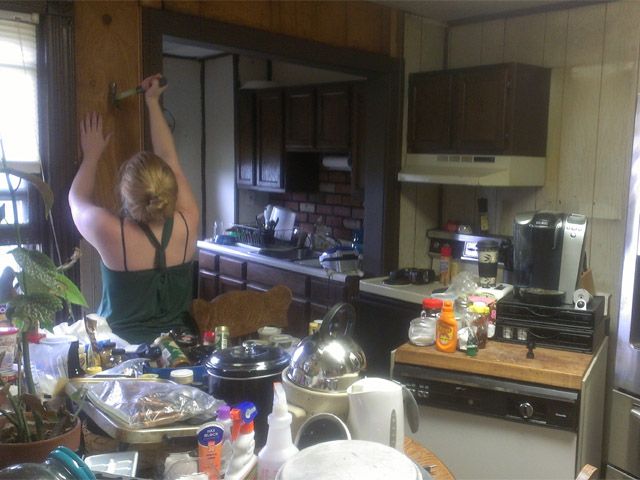
This should give you a feel for just how uneven our strange little house is:  it looks like the stove is crooked, but it isn't - it's totally level.  The wall itself is off-kilter!  It's like living in a fun house.


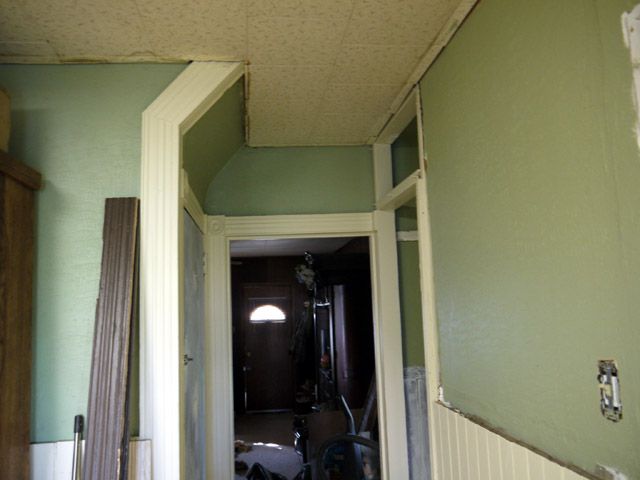
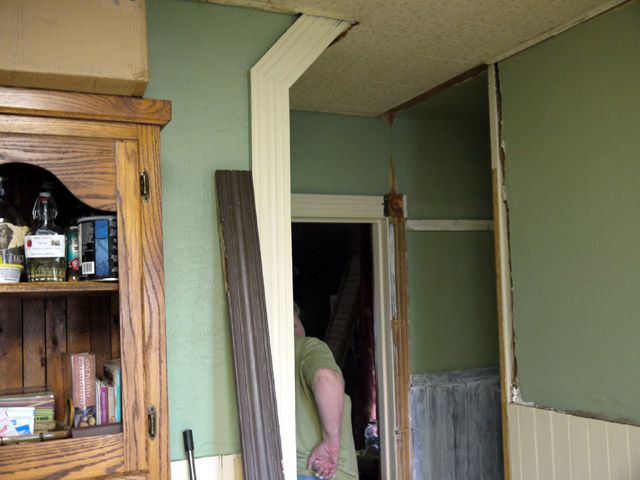
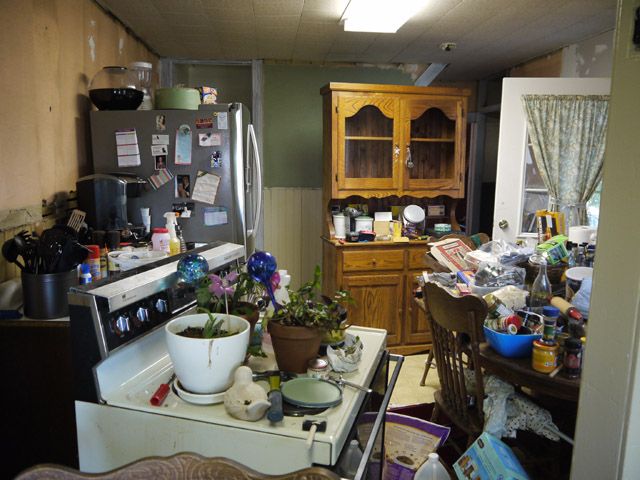
The whole house has been thrown into complete chaos.


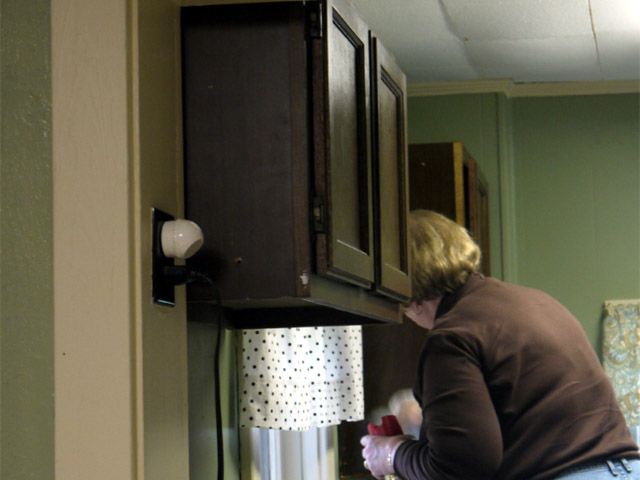
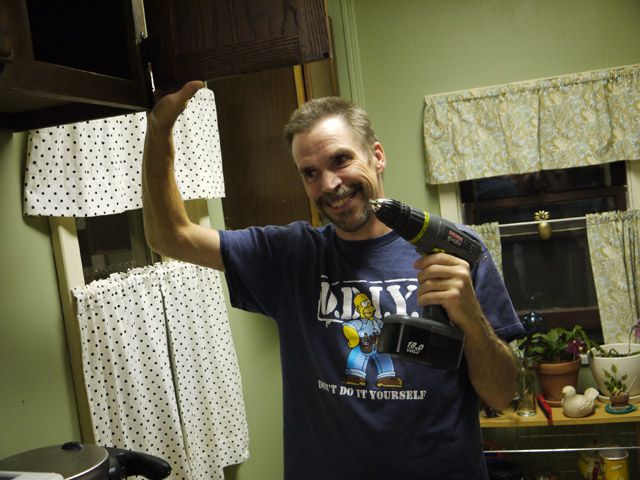
We decided to move all the wall cabinets to the back of the kitchen so that we can put shelves up over the stove instead.  My dad had to help with this part - and he wore the perfect shirt.


Stay tuned tomorrow for week three!

Sunday, October 14, 2012

Kitchen Update - Week 1

Hey guys, it's been a while!  There's been a lot going on in my kitchen lately, so let's jump right it.  First off, remember back in March when the new door was installed?  I never mentioned it again, but my uncle did come and put drywall up around it so we didn't have to stare into the depths of the house every time we went into the kitchen.


After that, we pretty much left things alone in there until September.  We have big plans to completely gut and renovate the kitchen, but that's going to take a lot of time and money.  For now, though, we're going to paint and move things around and just sort of update it.  Nothing too drastic, just enough to make things a little less... frightening out there.  Here's a video we made last year when we were trying to win a new kitchen (which obviously didn't work) so you can see the starting point.


This kitchen is such a mess that we needed to do quite a bit of work before we could even start painting.  First we took everything out of the cabinets and took all the curtains down from the windows. 

Kylie doesn't want to breathe in any 112 year old dust.

Then we removed what remained of the paneling and plywood.  We had to take down the stove hood and cabinets to achieve this - what a mess!

Kylie pries off some plywood.
Mum sweeps away some spider webs that were hiding under the paneling.
Dad and Uncle Don pry off the remainder of the plywood after taking down the cabinets.
That was enough for one week.  We decided to hold off on any actual painting until week two, which you can see tomorrow!

Sunday, April 1, 2012

New Floor in the Front Room!

Guess what?  The floor in the front room (soon to be Chris's office) are finished too!  Are you ready for some more before and after?  Before:

 
After:


Much better!  The next step will be tearing down that terrible wallpaper so that Chris can paint his new office a bright, cheerful grey!  I'm not joking, grey is the color he has chosen for his new room.  Ah well, to each his own.

Wednesday, March 28, 2012

New Floors In My Office!

After a brief side project in the kitchen (aka our new door), it's back to the new upstairs floor.  My office is next on the list.  Here are some before shots.


I definitely needed a new floor in there, am I right?  Well, Uncle Don was over yesterday to work his magic!  Here's my new floor!


Pretty amazing, right?  I can't believe what a difference a new floor can make!  I can't wait to start moving furniture around and hanging some art.  I've got big plans to make better use of my workspace and some decorative ideas as well.  But that will have to wait until the floor in Chris's office is finished, because all the stuff we've been shifting from room to room will have to be moved back in here for a time.  It's a bit of a hassle, but it will be so worth it in the end.