Showing posts with label kitchen. Show all posts

Sunday, December 16, 2012

Kitchen Update - Week 5

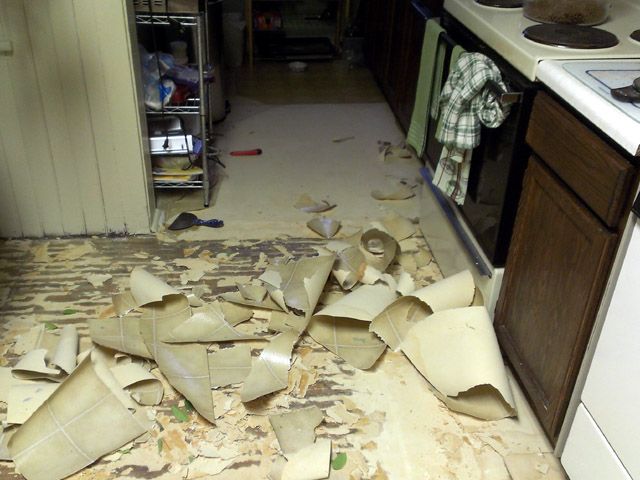
Week five was not a fun week - we tore up the old floor.  It was really frustrating because it was hard, physical work, but the room actually looked worse when were finished.  Plus it was really dirty and dusty and sticky and unpleasant.

We used spackle knives to scrape up as much floor as we could.
It was a huge mess.
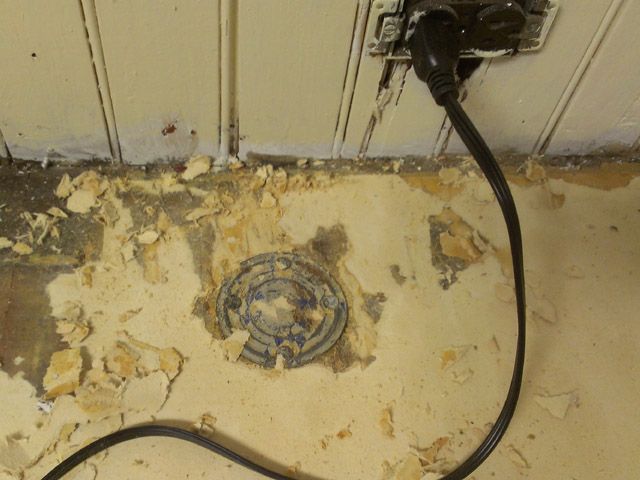
We found a tin can lid used to patch a hole - now that's recycling!
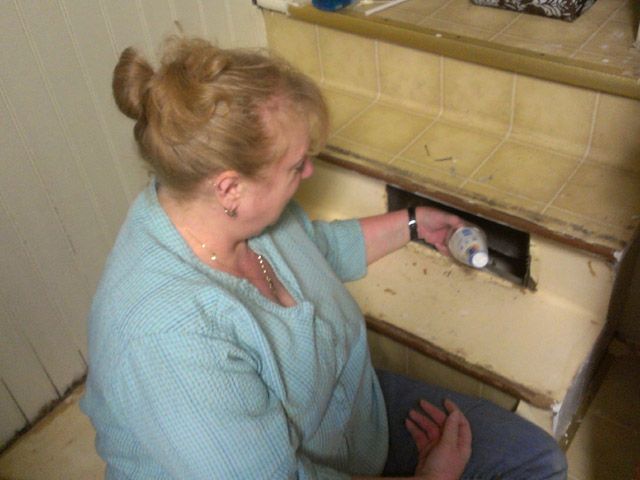
Mum pulled a whole lot of dirt out of our duct work...
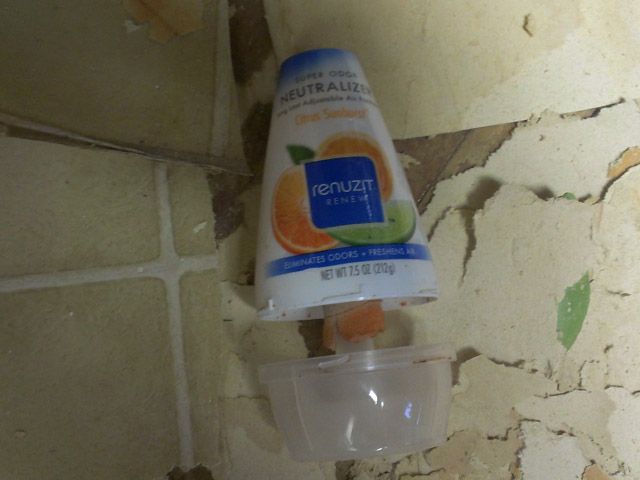
...as well as this air freshener!

Wednesday, October 17, 2012

Kitchen Update - Week 4

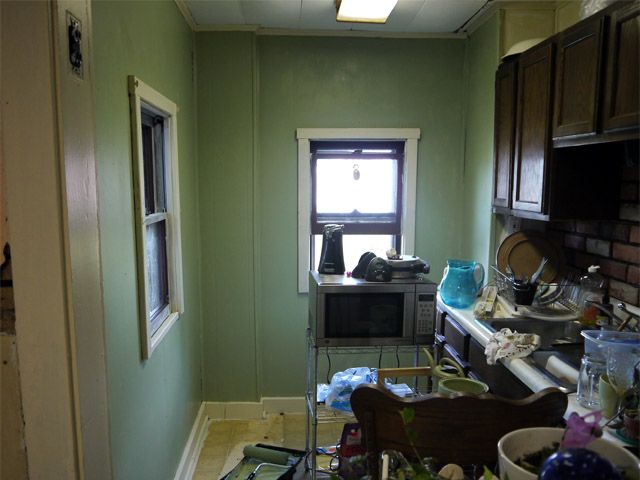
Week four was mostly about finishing up the last of the painting.

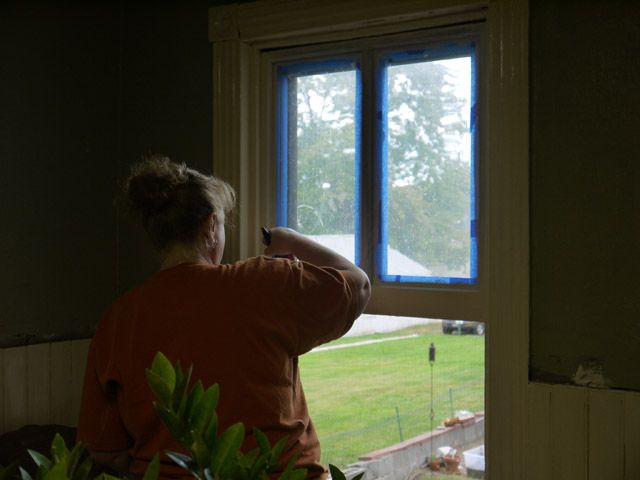
Mum paints the windows.
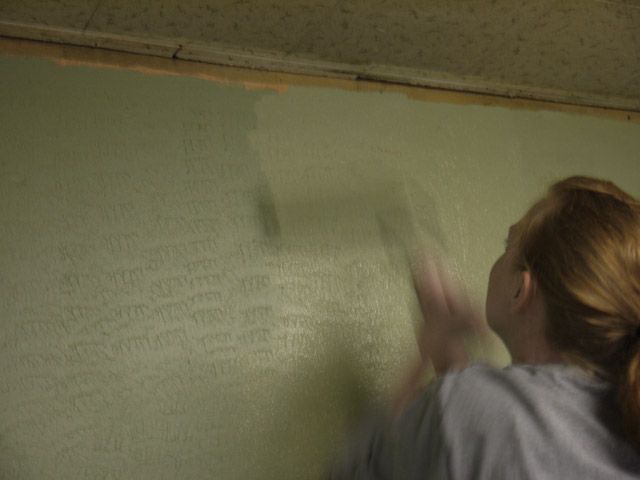
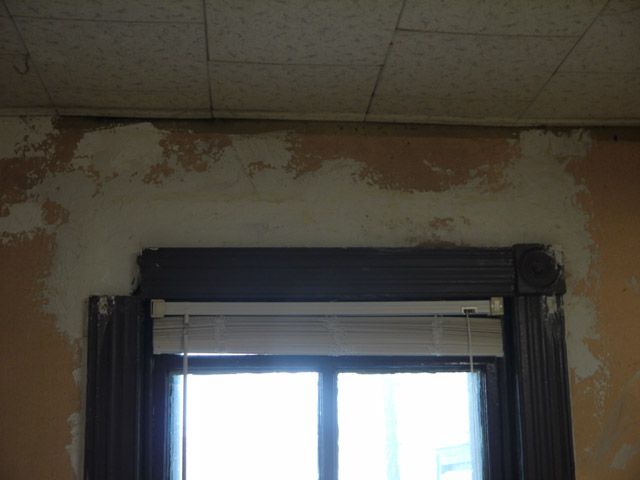
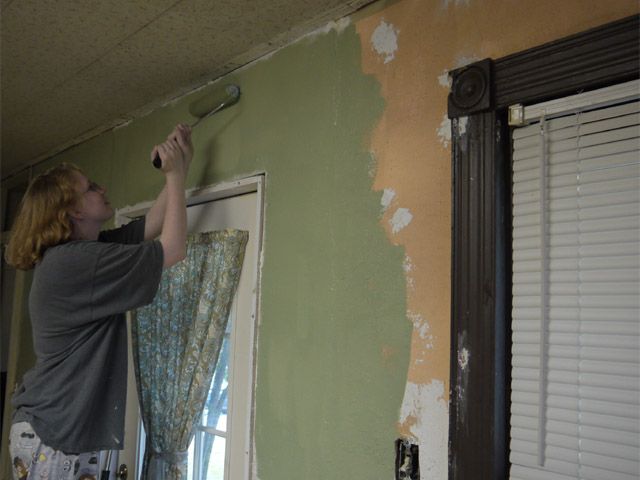
I paint over the very last of the terrible pink paint!
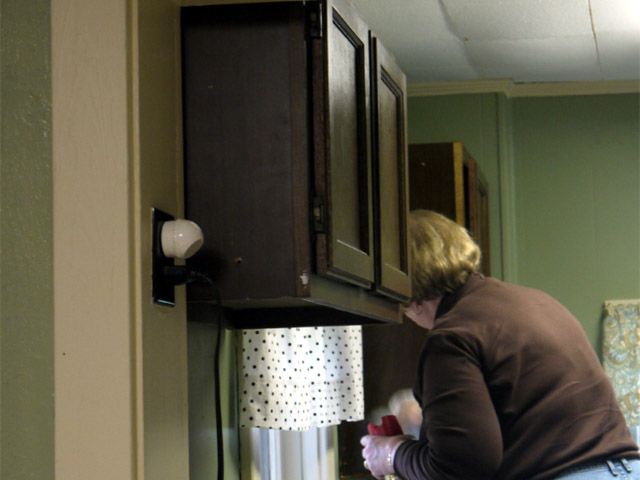
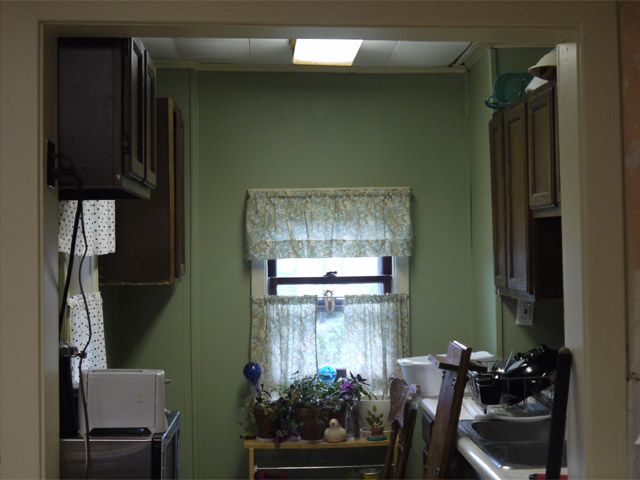
Originally I had planned to paint the cabinets, but I was concerned it would be too much beige.  So we decided to leave them unpainted and tried to shine them up a bit.  Aunt Candy brought over some stuff called Liquid Gold that worked wonders.


I also started tearing up the floor.  Unfortunately, it doesn't look like it would be very easy to save this floor.  And I've got other plans for when we do the Big Kitchen Redo, so we've decided it would be easier to just put down linoleum tiles for now.  This awful stuff has to come up first, though.


So that's all I've got for now.  These first four weeks all took place in September.  We haven't been able to do anything yet in October due to very busy schedules, but hopefully we'll be able to get back to work this weekend.  From here on out, it's all pretty complicated stuff (at least in my book).  Here are the things we still need to do:

  • paint basement door with chalkboard paint
  • put down linoleum tiles
  • build custom cabinet/table out of reclaimed parts from the Centre Park Artifacts Bank
  • replace the countertop
  • put up baseboards, chair rail, and crown moulding
  • make curtains
  • turn weird closet alcove into a pantry
My goal is to have all this finished by November 18th - think we can make it?

Tuesday, October 16, 2012

Kitchen Update - Week 3

Week three started with more patching.  Do not underestimate the number of gaping holes we had in our walls.

Mum knocks out the crumbling bits of wall so she can patch it with some drywall.
I don't know if you can tell or not, but the walls in the kitchen are heavily textured.  Since many of the holes had to be completely replaced with drywall, we bought some spray-on texture stuff to try and make everything look at least somewhat uniform.  The one we used was called Homax Wall Texture Spray and it was pretty amazing.  It looks a little weird going on, but when it is painted you can hardly tell the difference between the original wall and the replacement drywall.  I'd definitely recommend it.

Kylie helps to make the drywall match the plaster walls.

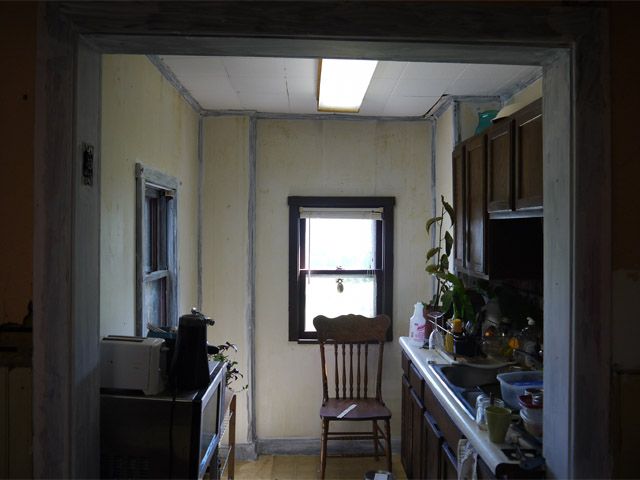
Except for new countertop, the back part of the kitchen is finished.


We're going to paint the basement door with chalkboard paint so we have a handy place to jot down notes.


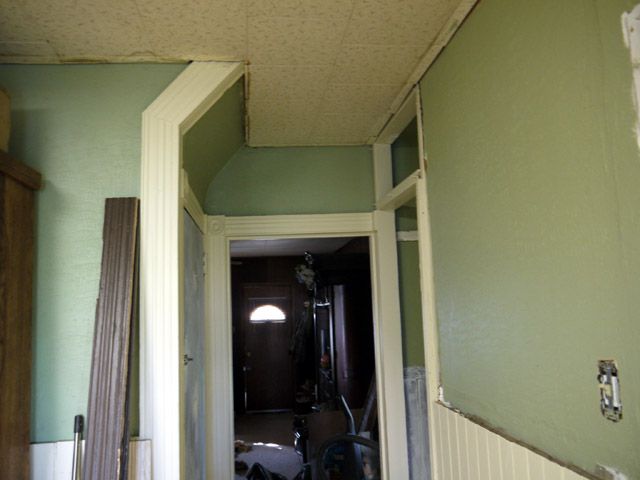
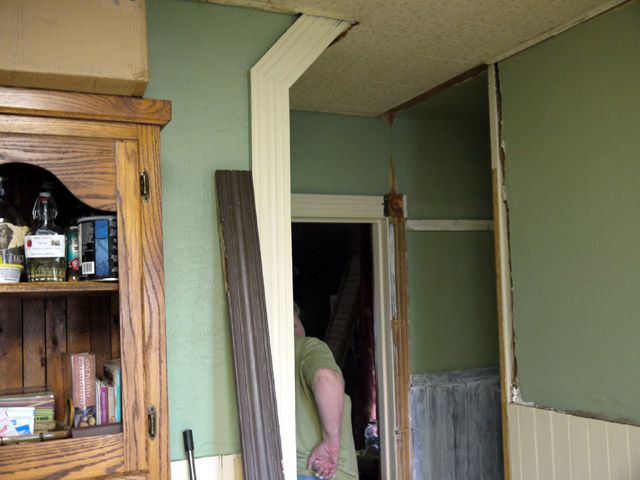
Kylie accidentally discovered that there was door moulding behind that weird makeshift closet, so we tore the whole thing down.  I wish all of the trim had remained unpainted - it's so beautiful!


That's all for week three - check back tomorrow for week four.

Monday, October 15, 2012

Kitchen Update - Week 2

When we left off last time, we had taken down the cabinets, paneling, and miscellaneous wood pieces and were ready to start getting serious!  We started by patching the holes in the main part of the kitchen so that the spackling paste would have plenty of time to dry.  


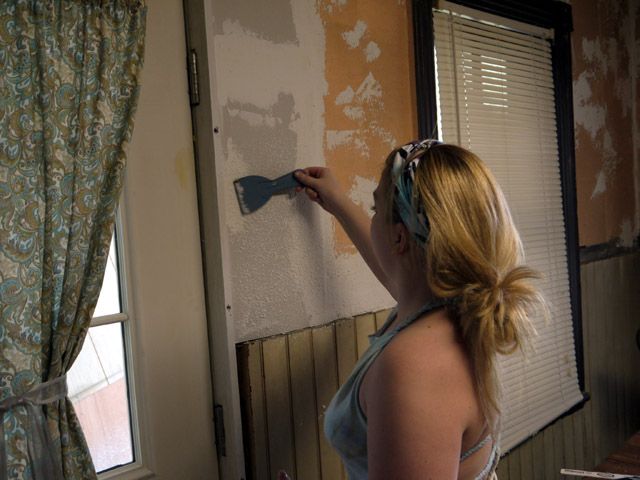
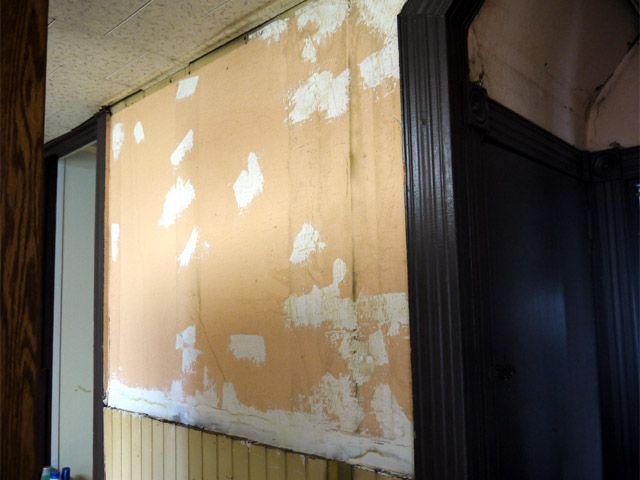
Meanwhile, I finished tearing down the wallpaper in the back area and primed the dark brown trim.


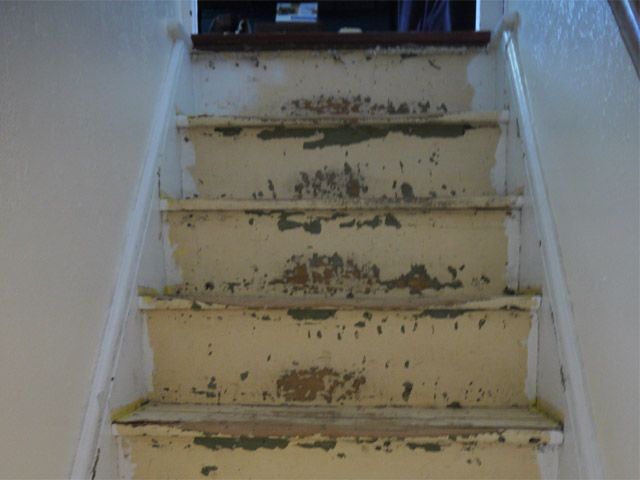
Kylie got bored, so she and Uncle Don tore up the carpet on the stairs.  Unfortunately, the stairs are not in such great shape and are going to have to be pretty heavily repaired.


Then we gave the back area its first coat of paint.  It looks better already!


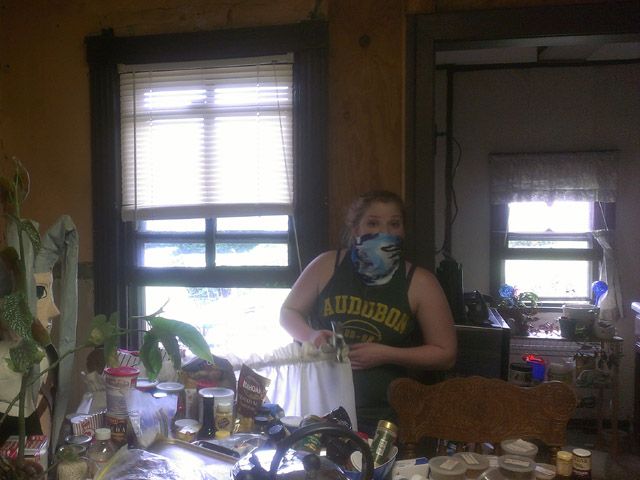
Mum is camouflaged!
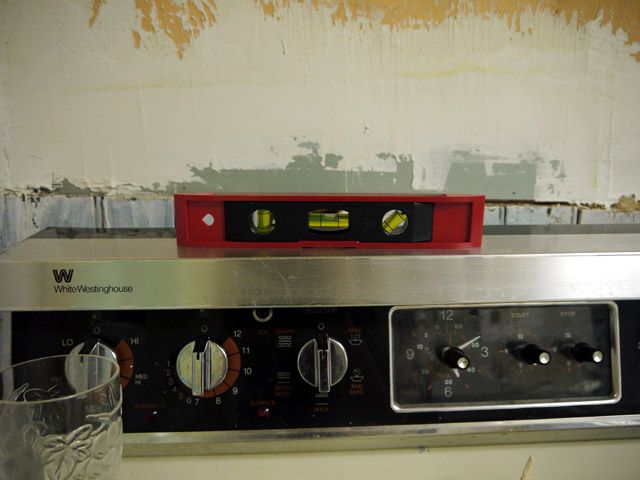
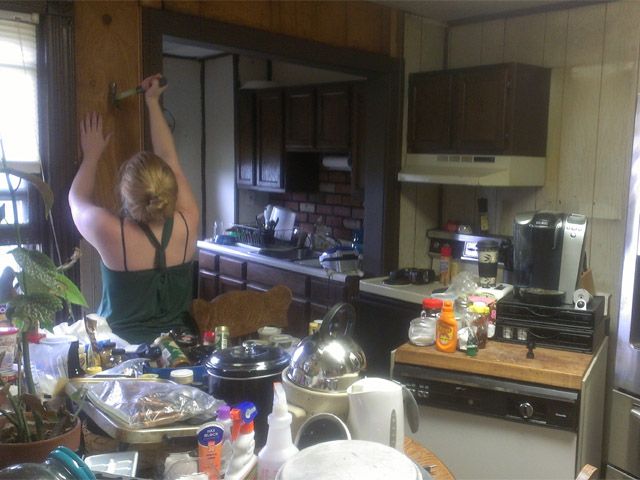
This should give you a feel for just how uneven our strange little house is:  it looks like the stove is crooked, but it isn't - it's totally level.  The wall itself is off-kilter!  It's like living in a fun house.


The whole house has been thrown into complete chaos.


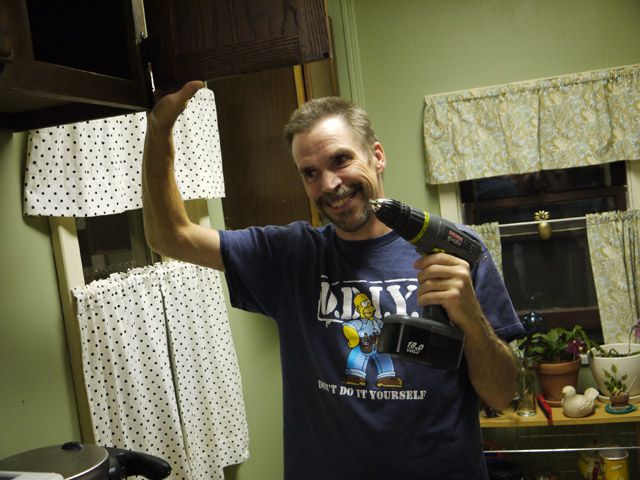
We decided to move all the wall cabinets to the back of the kitchen so that we can put shelves up over the stove instead.  My dad had to help with this part - and he wore the perfect shirt.


Stay tuned tomorrow for week three!

Sunday, October 14, 2012

Kitchen Update - Week 1

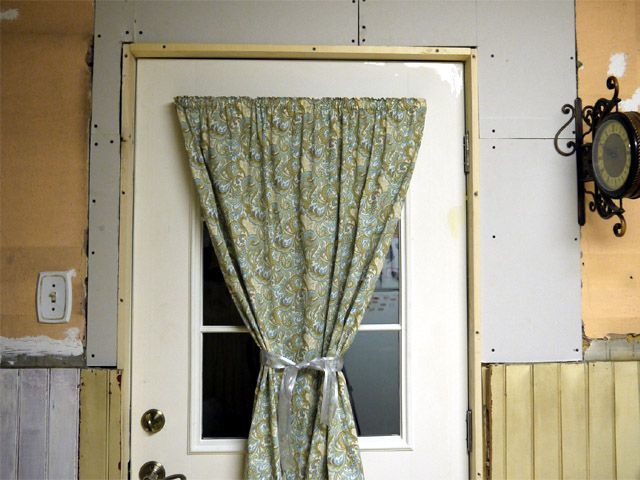
Hey guys, it's been a while!  There's been a lot going on in my kitchen lately, so let's jump right it.  First off, remember back in March when the new door was installed?  I never mentioned it again, but my uncle did come and put drywall up around it so we didn't have to stare into the depths of the house every time we went into the kitchen.


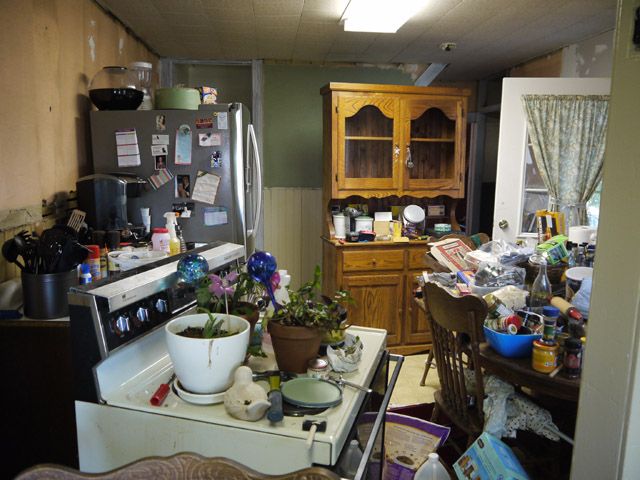
After that, we pretty much left things alone in there until September.  We have big plans to completely gut and renovate the kitchen, but that's going to take a lot of time and money.  For now, though, we're going to paint and move things around and just sort of update it.  Nothing too drastic, just enough to make things a little less... frightening out there.  Here's a video we made last year when we were trying to win a new kitchen (which obviously didn't work) so you can see the starting point.


This kitchen is such a mess that we needed to do quite a bit of work before we could even start painting.  First we took everything out of the cabinets and took all the curtains down from the windows. 

Kylie doesn't want to breathe in any 112 year old dust.

Then we removed what remained of the paneling and plywood.  We had to take down the stove hood and cabinets to achieve this - what a mess!

Kylie pries off some plywood.
Mum sweeps away some spider webs that were hiding under the paneling.
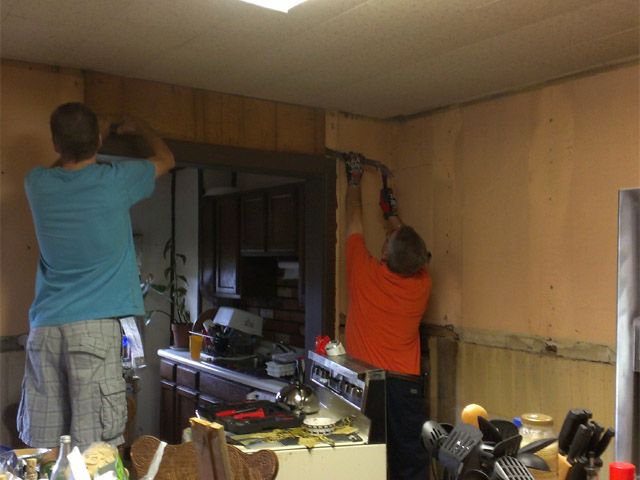
Dad and Uncle Don pry off the remainder of the plywood after taking down the cabinets.
That was enough for one week.  We decided to hold off on any actual painting until week two, which you can see tomorrow!

Friday, March 2, 2012

Kitchen Door Installed!

 Here's what was happening when I came home from work this evening:

New kitchen door being installed.
 And here's what was waiting for me when I returned home from dinner:

The door is installed!
 Here's a close-up of the knob and the dead bolt.  They still look like they are not the same color in this picture, but they really are - I promise!

Schlage antique brass door fixtures.
 And here's the scary results of cutting a bigger door hole in the wall:

Lathe and plaster.
Old and new supports.
It's pretty scary to see the inside of your house.  You'd think I'd be used to it after the bathroom, but no.  It never gets less creepy to know that a bunch of rickety boards and crumbling plaster are the the only things keeping your house standing.  But it's okay, Uncle Don is coming back over the weekend to frame up the door and cover the gaping holes.  More pictures soon.

Thursday, March 1, 2012

Kitchen Door Hardware

Tonight Chris and I picked out a knob and dead bolt for the new back door that is set to be installed tomorrow.  We decided on the Flair Antique Brass Residential Keyed Entry Door Lever and Antique Brass Residential Single-Cylinder Deadbolt, both by Schlage.

I know they don't look like they are the same color in this picture, but they are in person.

Tuesday, February 28, 2012

Door frame photos

Here, have a few photos of the removal of the top of the door frame from over the weekend:

Top of the door is gone.

Top of the frame and the corner moulding.

You might recognize this terrible red paint from the murder wall.

So many layers of paint over the last 100 years...

Monday, February 27, 2012

New Door Incoming!

As you may or may not know, our refrigerator is old and gross.  It's kind of moldy, the freezer light is out, there are exposed wires inside where someone ripped out the ice maker before we moved in, and things on the top shelf of the fridge have a tendency to be frozen while things in the freezer are sometimes not quite as cold as you'd like them.  In short, we need a new fridge.  So we went looking at fridges while we were off from work after the wedding, and we fell in love with this beautiful Samsung refrigerator. Unfortunately, both are too large to fit through our tiny Victorian doorways.  But instead of doing the reasonable thing and buying a smaller fridge, we've decided to go ahead and just widen the doorway.  Ridiculous, I know.


Our new back door.

The door has been purchased and is sitting in the backyard.  All that's left is to remove the old door, widen the doorway, and install it.  Amazing, right?  Uncle Don came over on Saturday to take down some of the door frame, just to get an idea of what is waiting for him behind our walls.  Not a whole lot, from the looks of it.  I was hoping maybe there'd be wads of cash back there, but no such luck.  Heck, we don't even have insulation back there.  No wonder it's so cold in here all the time!

We're keeping the trim to use on the doorway we'll probably make during the Big Kitchen Redo (which probably won't be happening for several years) since it won't fit around the new door.  Check out all of the awful layers of paint on these things!  I really don't know what the past owners of this house were thinking when they painted their kitchen in all those horrible colors.  I think our donations to the paint layers will be a lot more pleasant.

So that's all I've got for you so far.  Chris and I have to pick out hardware for the new door, which I'm sure will be a lot of fun.  I think the plan is to install the door on Friday, so I guess we'd better get shopping!

Monday, January 2, 2012

New year, new projects

Okay, so, the plan for yesterday had originally been to paint the kitchen.  I was doubtful about this plan, since there is still some paneling that needs to be taken down and some giant holes in the walls that need to be patched.  But who am I to question the helpful locusts?  During the week, my aunt and uncle came over to start painting the new bedroom so that we could move out bedroom furniture in and continue the floor installation in the rest of the rooms.  They got the entire room painted with the base color and one wall faux finished.  All that remained was to faux finish the rest of the walls and we'd be good to go.

Since the bedroom painting was already well underway, we decided to just go ahead and finish that instead.  So my mum, my dad, my aunt, and I finished the remainder of the faux finishing while my uncle painted the murder wall with Killz (more on that later).  When he was finished with that, he came upstairs and helped us move all the bedroom furniture in to our brand new bedroom!

Plastic bag faux finish

It is so amazing!  It's almost like we moved into a new house.  Obviously there's still a lot more to do in there: new curtains, new bedspread, new decor pieces - you know, all the fun stuff.  But even now it just looks so awesome, it felt like we were sleeping at a hotel.

Let me take a minute here to talk about the faux finish.  If you have looked through my bedroom inspiration board, you have probably seen this picture:


http://www.elledecor.com/image/tid/5990?page=7
I decided these blue and green Moroccan walls were the walls I wanted.  We used this plastic bag technique:


which I think worked out really well.  Obviously, we used blues and greens instead of browns, but the process was the same.  I think our knockoff walls look really close to the inspiration picture.

Now, on to the kitchen.  Some of you may already be aquainted with our murder wall, but for those of you who aren't - let me introduce you:

Standing in front of the murder wall!
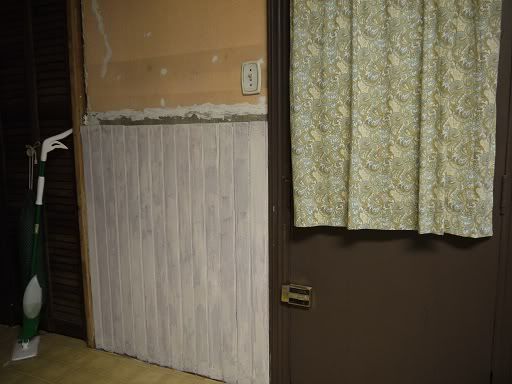
Scary, right?  We had originally hoped to strip the wood of the wainscoting and stain it, but it quickly became apparent that it would not be possible.  This happened months, maybe even years, ago and we've just been living with it ever since.  But no more!  The murder wall has now been covered up (to some extent):

No more murder wall!
It's far from finished, but even this little change has made our kitchen a less terrifying place.  Now it can be easily painted over when we do get around to starting the kitchen. 

But that's not all - there was another small addition to our kitchen:

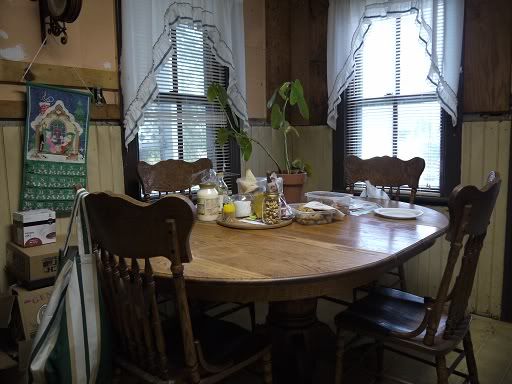
Our newly extended kitchen table!
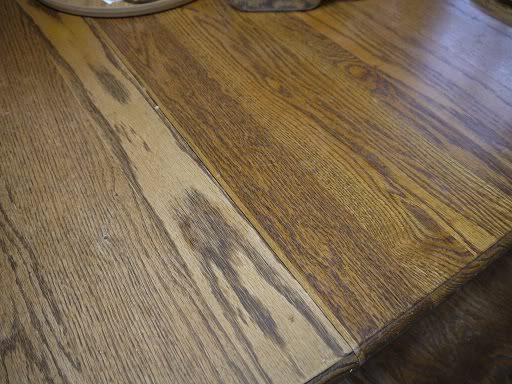
Since I hosted New Year's Day dinner, we needed more space to seat everyone - so my parents brought over the leaves for our kitchen table!  Hooray for more makeshift counter space!  Again, it's not a huge change, but it makes a very big visual difference in the room.  Chris and I are both really excited to be able to have a centerpiece and still have room to eat.  Unfortunately, the leaves make it even more obvious how much our table desperately needs to be refinished:

Regular table vs shiny, unused leaves.
When my parents had this table, the leaves usually sat in the basement unless there were a lot of people coming over.  So they saw a lot less use and as such retained a lot more of their youthful glow.  Ah well, someday.  But refinishing the table is not high on my priority list, so for now we will just have to deal with it.

So yeah, I feel like we got a lot accomplished yesterday.  It was a great way to ring in the new year.  Stay tuned for floor updates, bedroom updates, and an explanation of my plans for the kitchen.